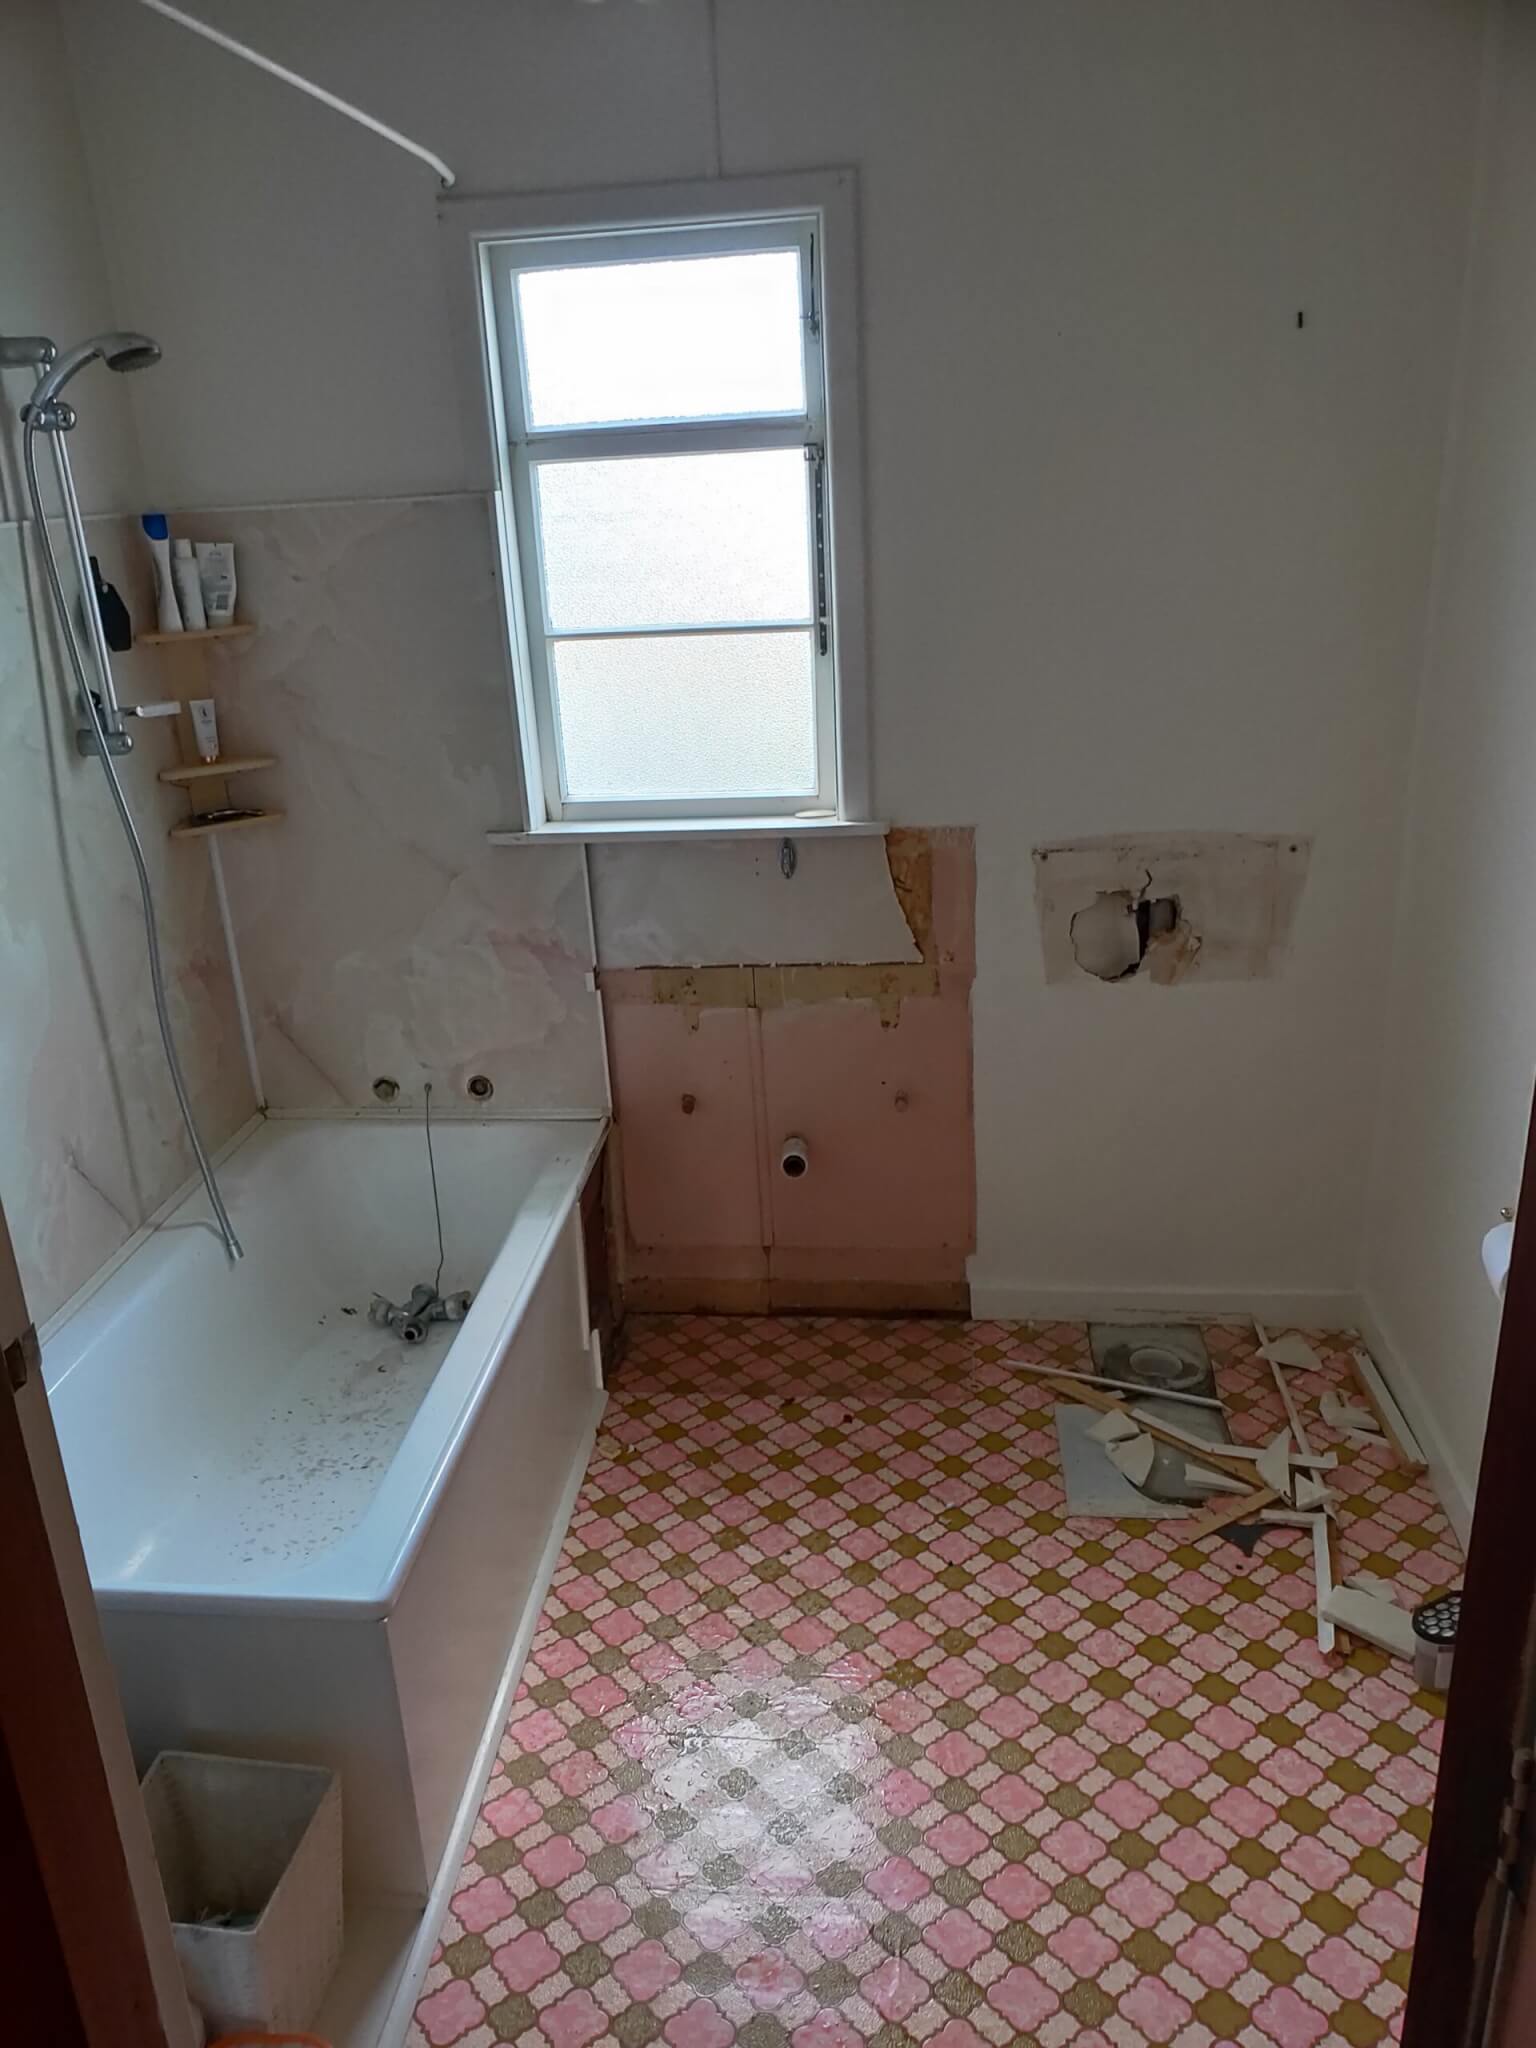
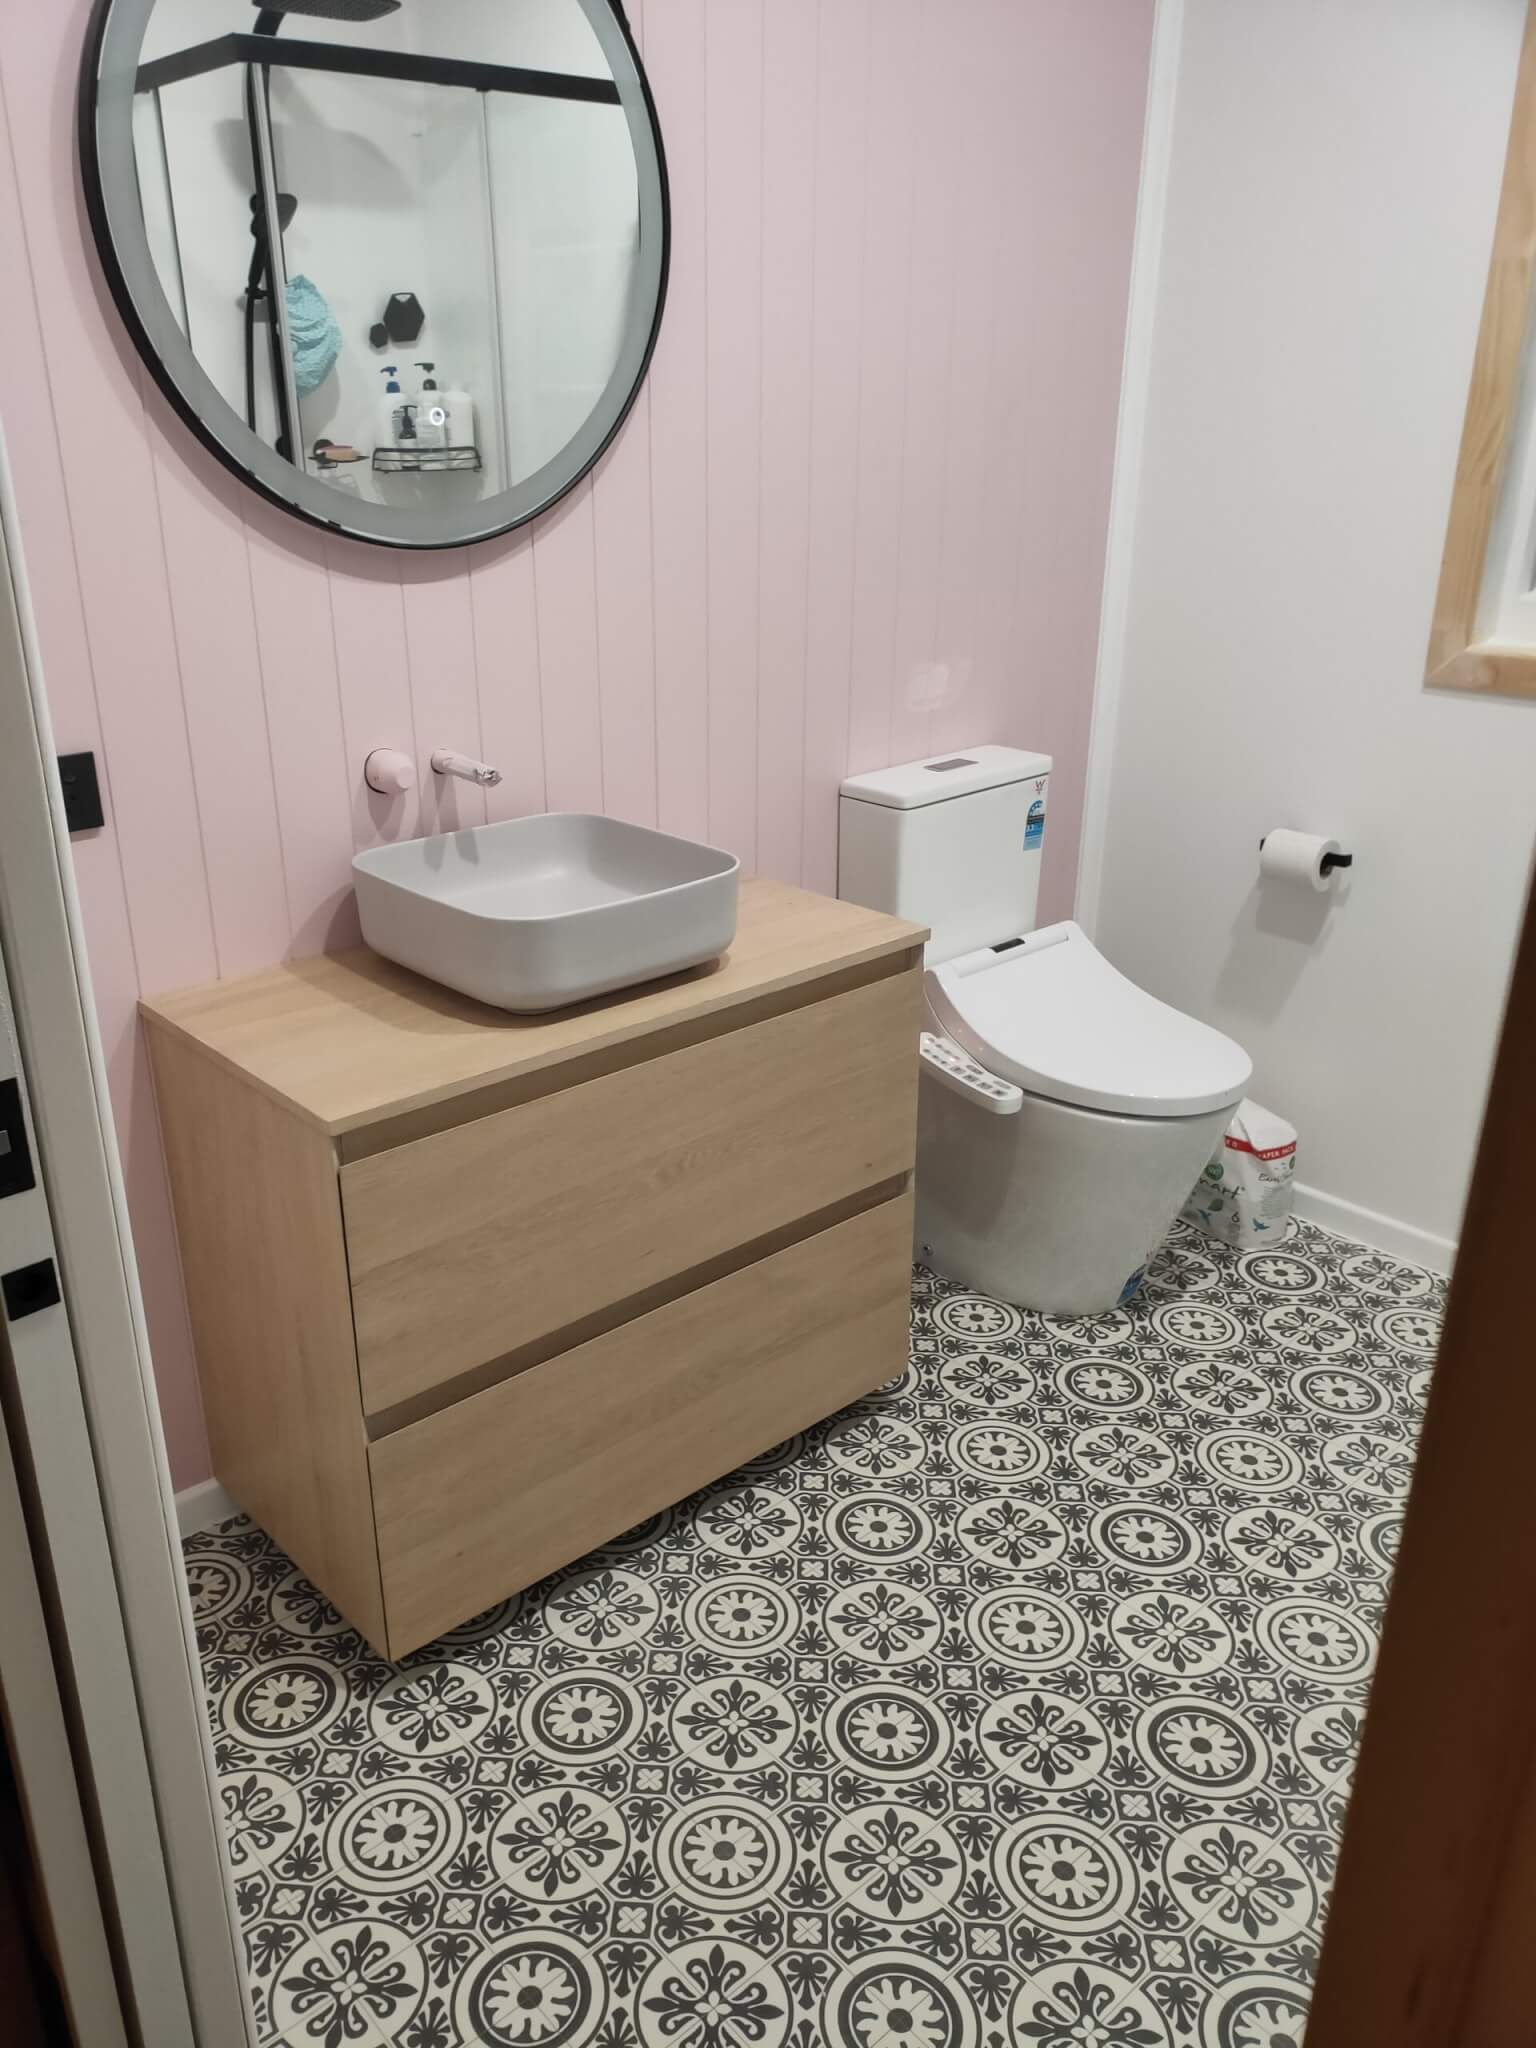
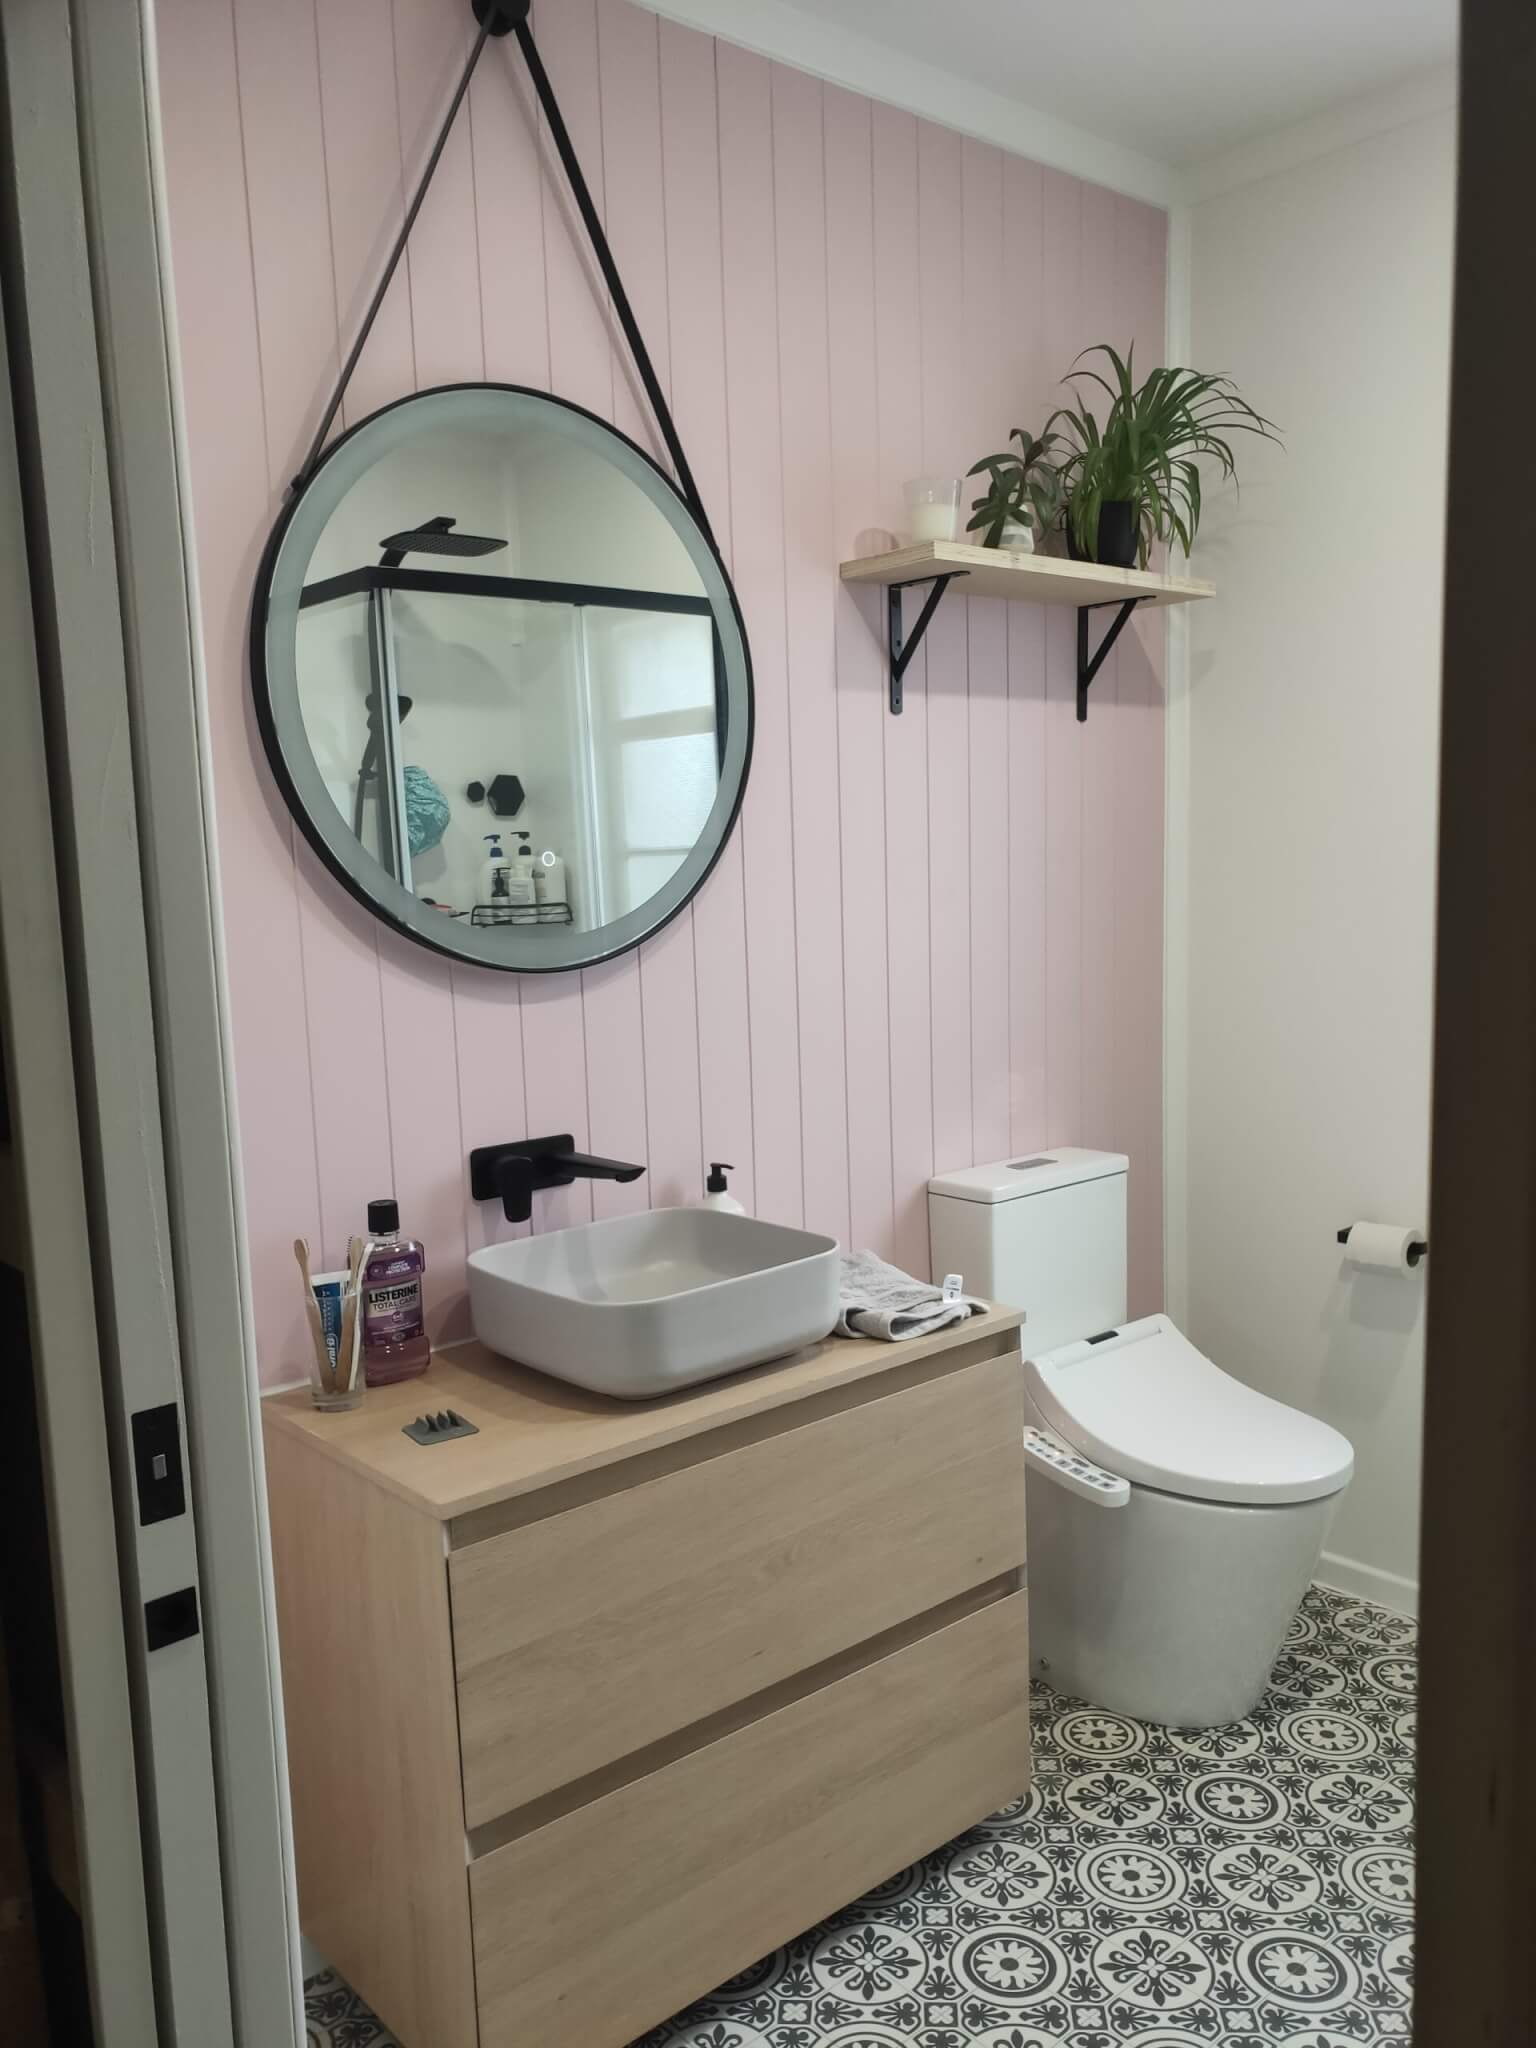
For this renovation the entire bathroom was to be ripped out and replaced.
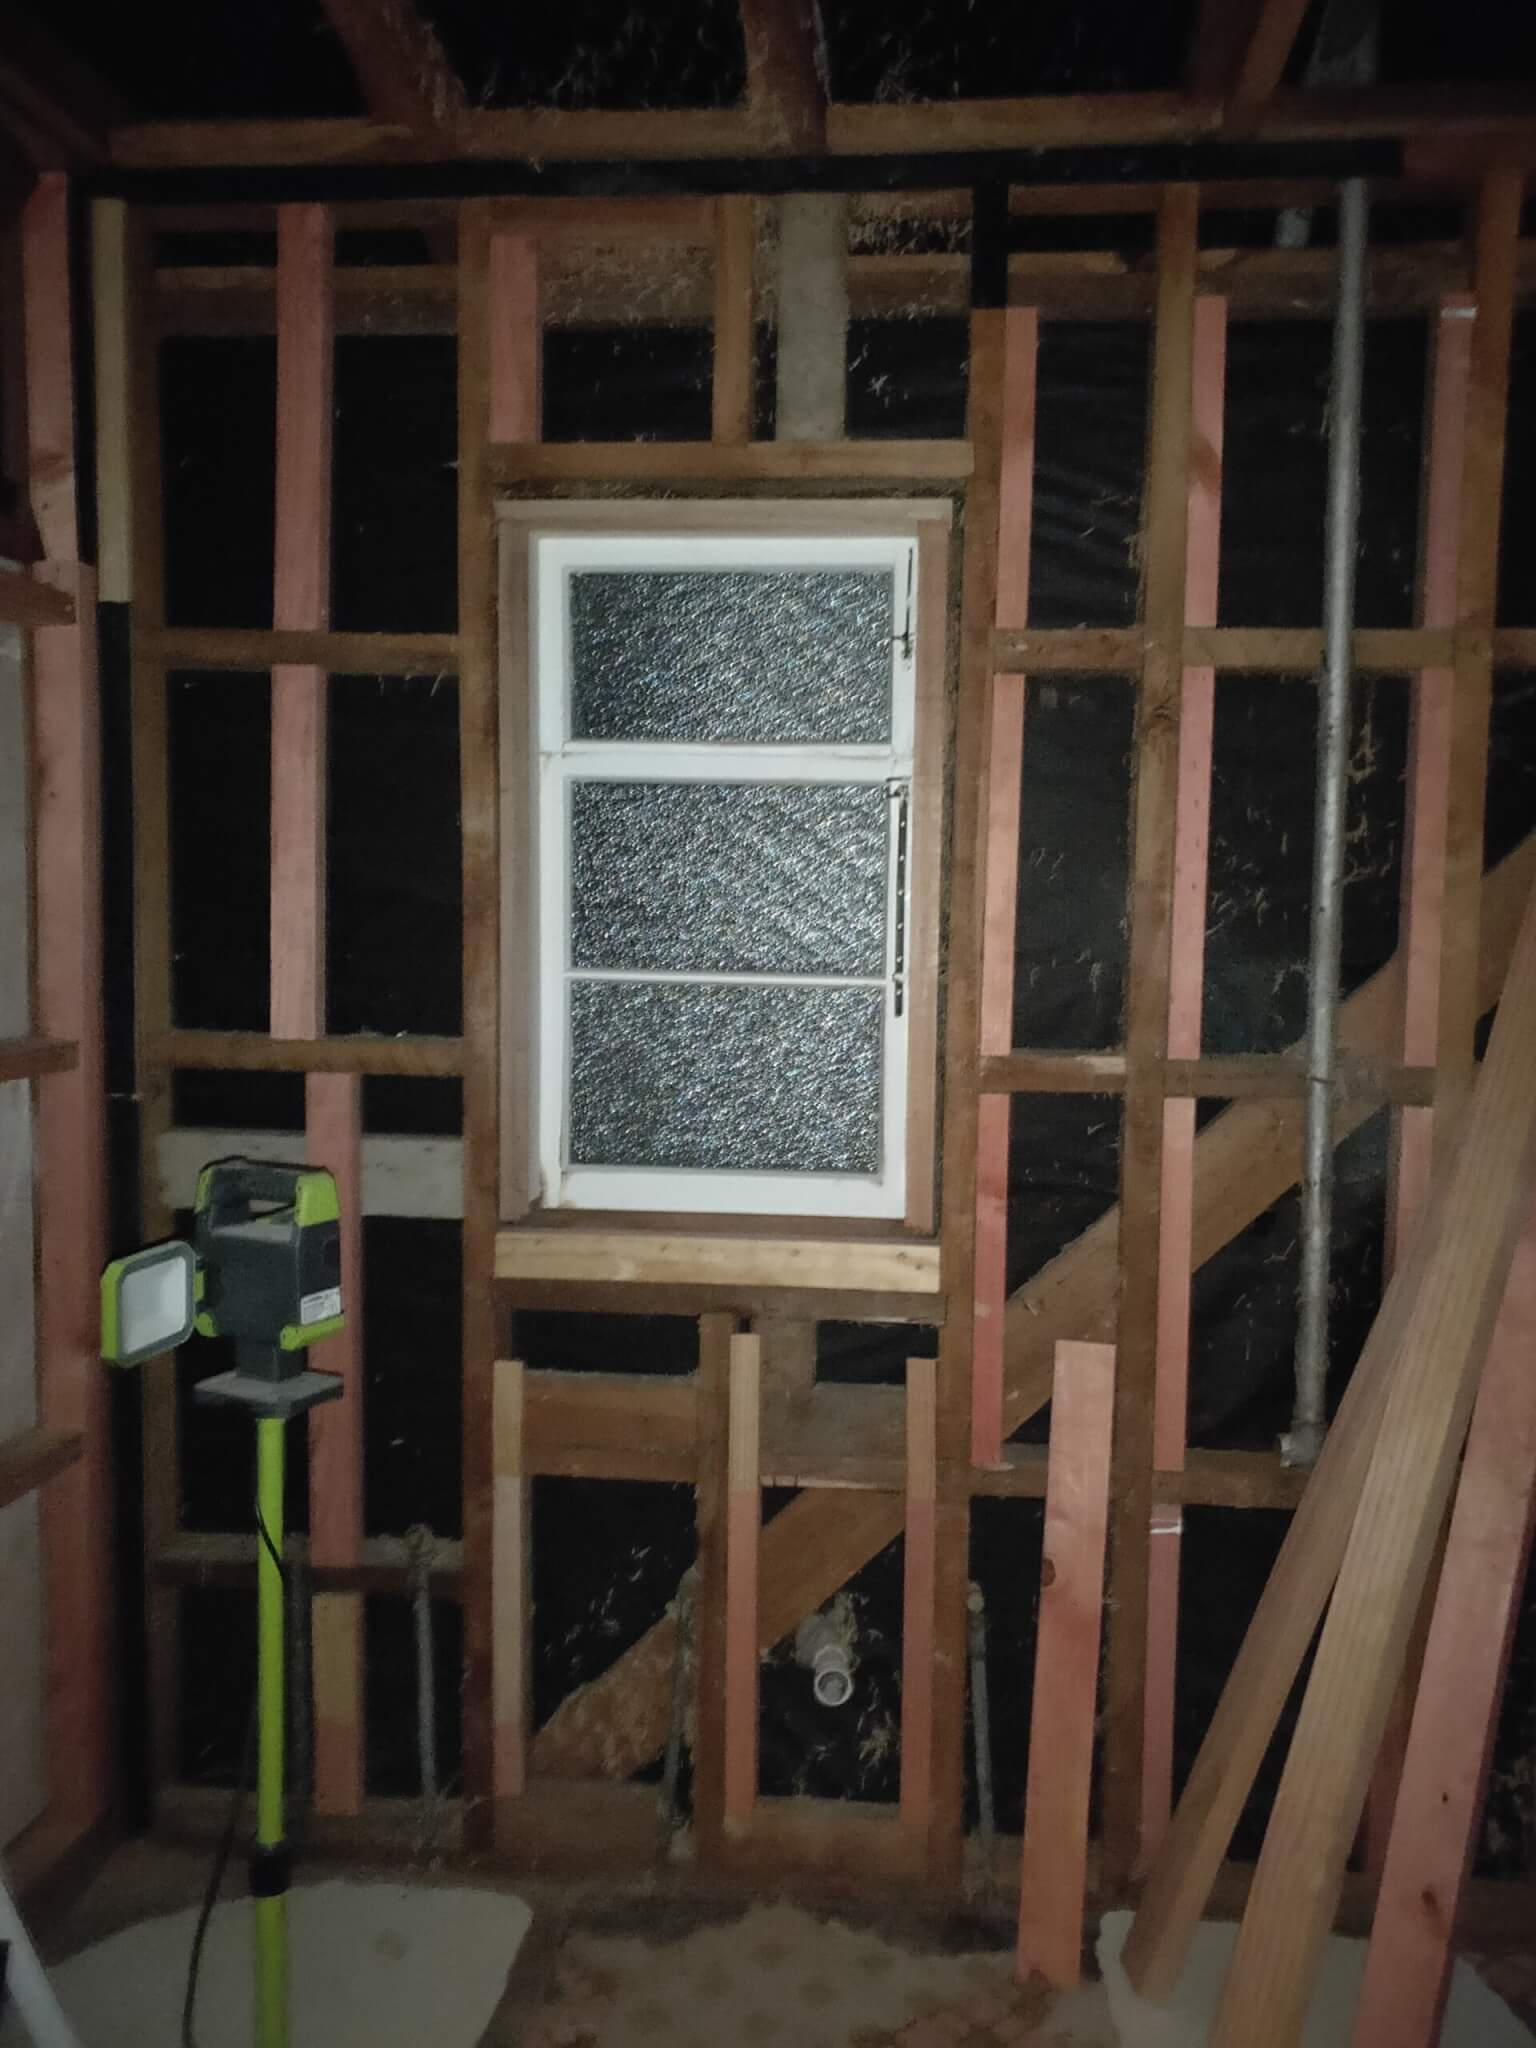
After the demo stage, it was important to make sure the walls, ceiling, and floor were nice and level as any areas that weren’t would be really visible on completion.
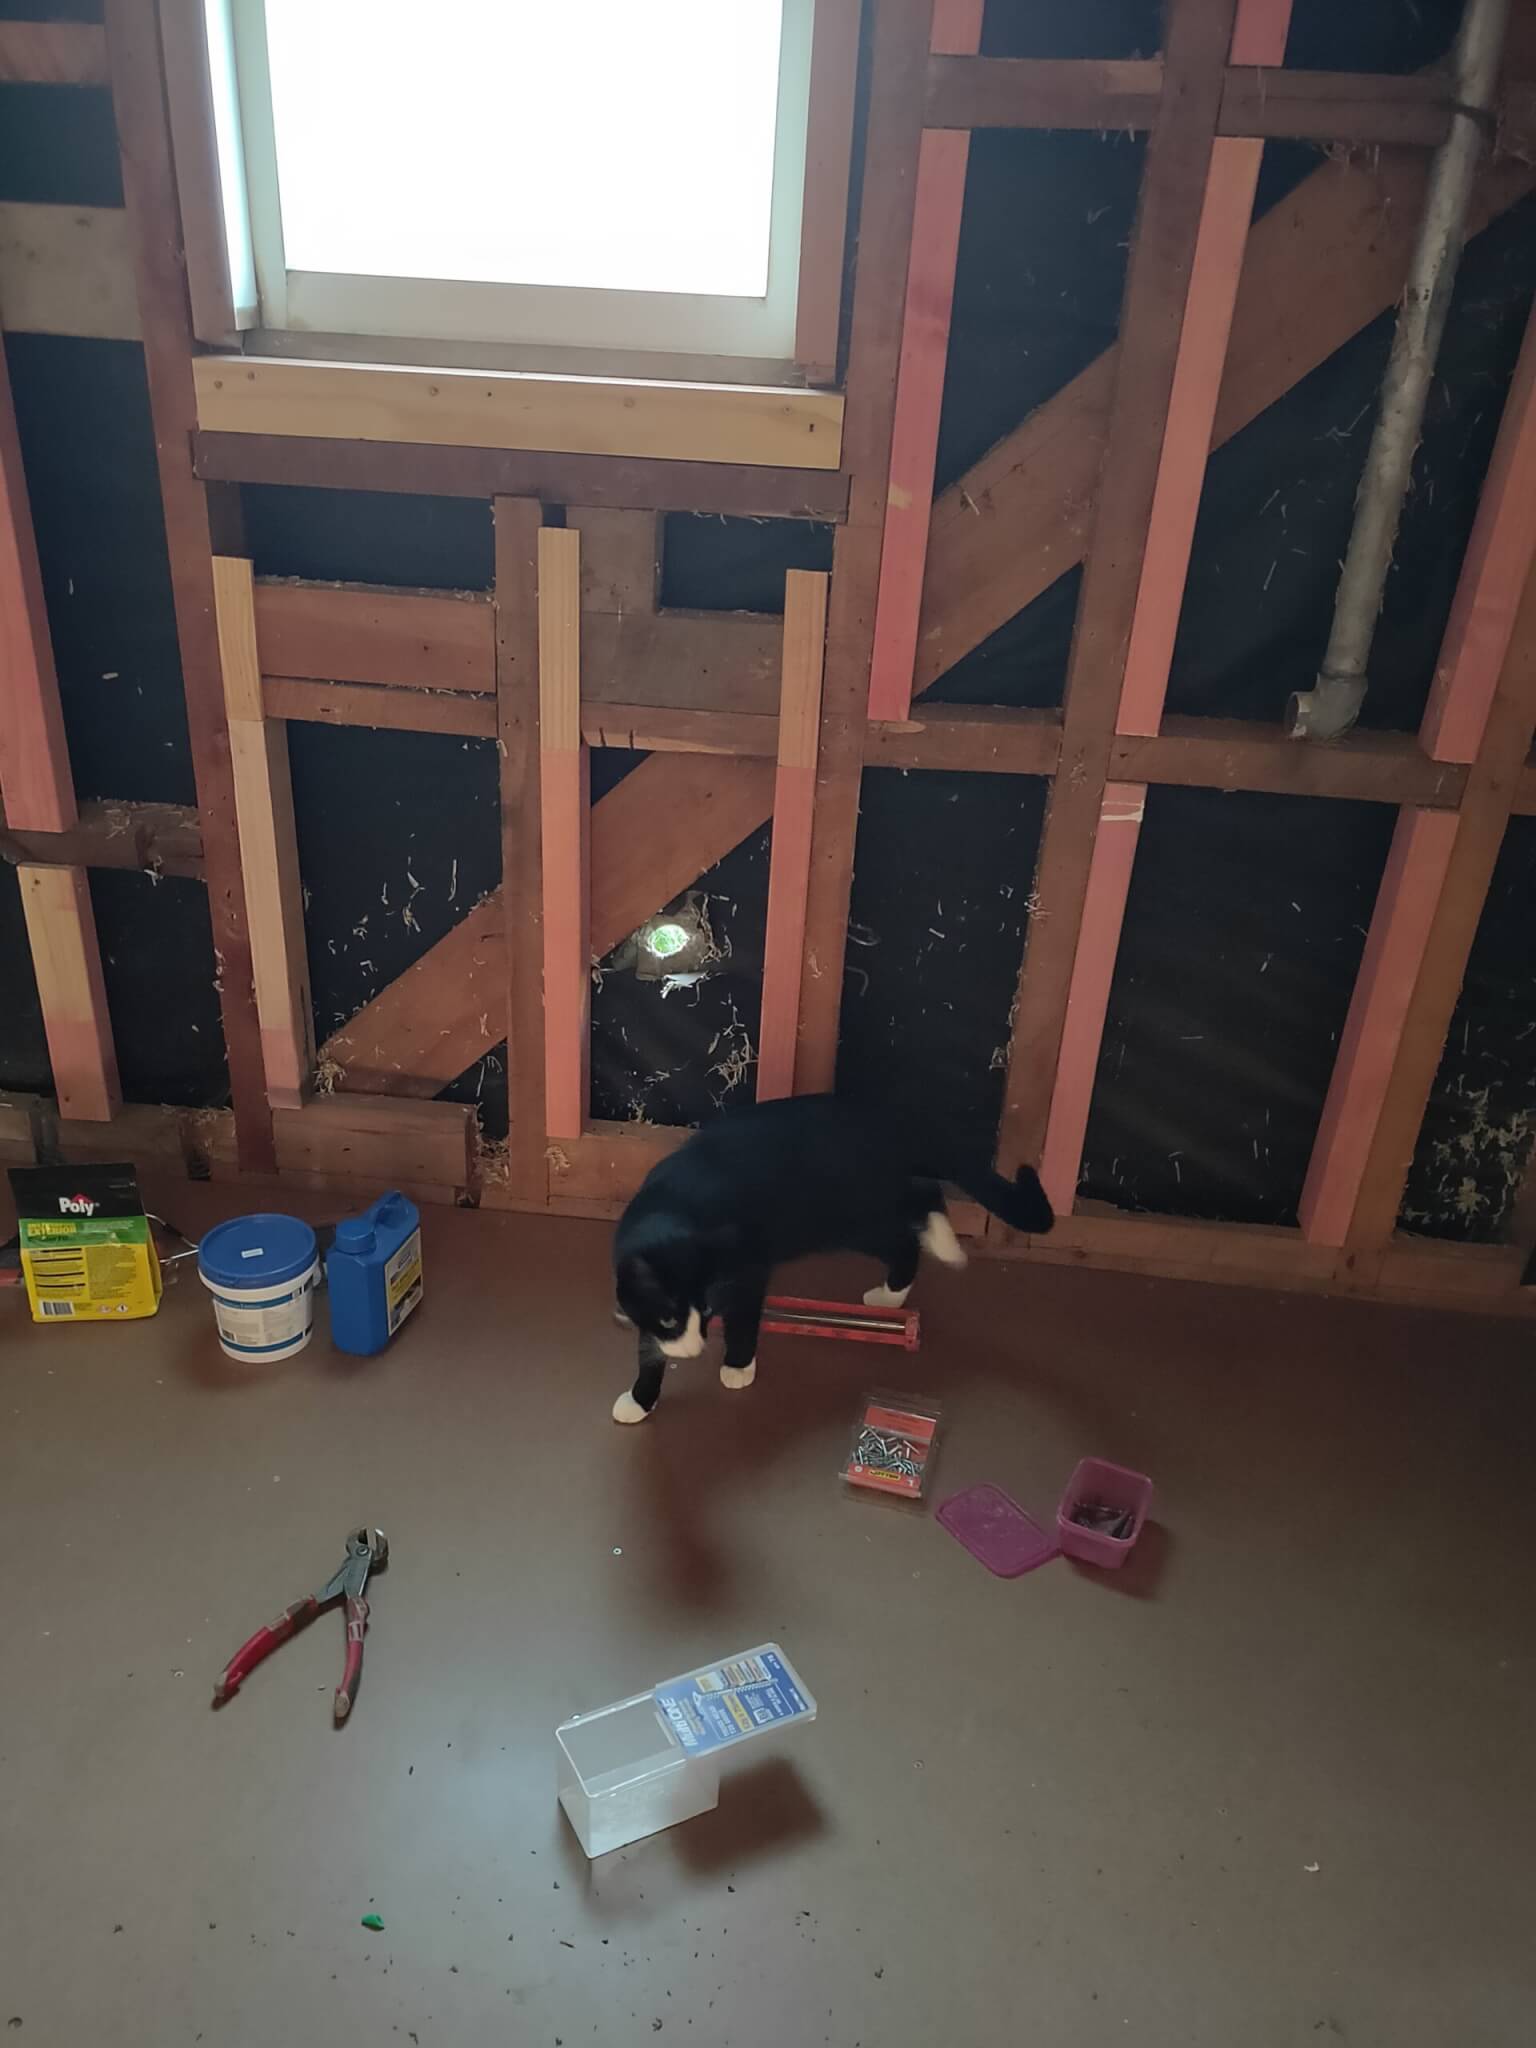
There are many ways to straighten walls and for this particular job adding in sister studs was the preferred option. To put it simply, it is another length of timber that attaches to the existing studs that provides a nice plumb wall. This makes anything getting wall mounted such as the shower or vanity a lot easier and looks great.
The original door to the bathroom went into the room and made the room feel small and created unusable space behind it. We decided to add in a cavity pocket sliding door, this needed to be taken into consideration during the planning as nothing could be attached onto the area that was to be plaster boarded over, such as shelving.
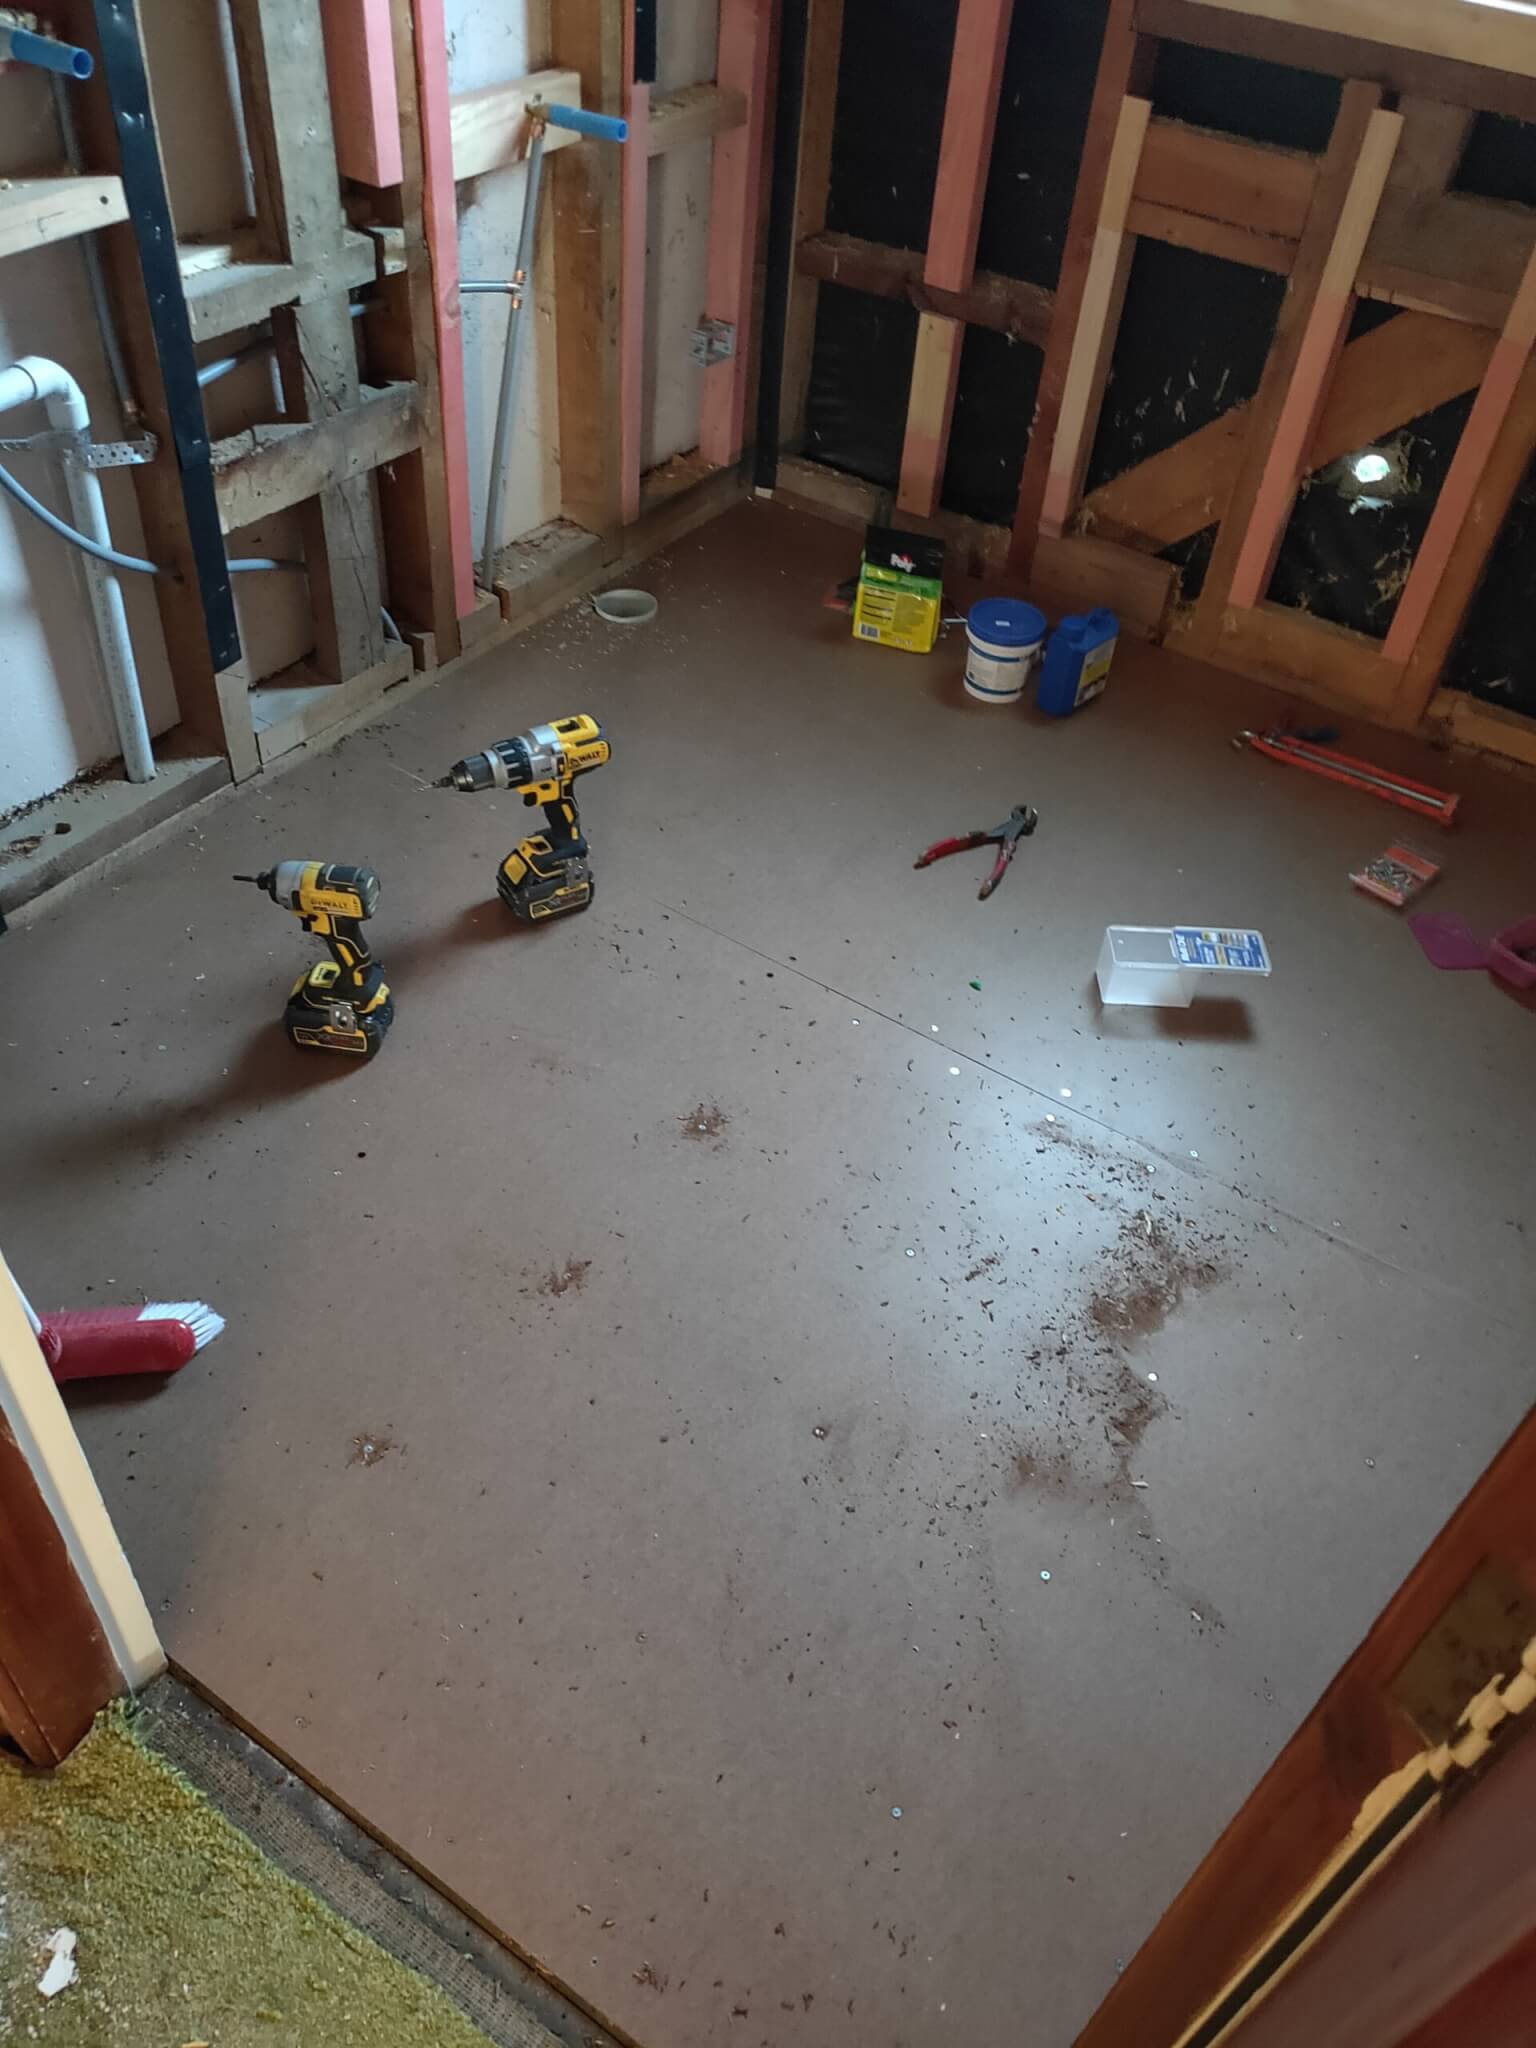
It was decided that the flooring in the bathroom was to be sheet vinyl so to give a nice smooth surface to work upon. As the original flooring is wooden planks and over time you would see the outline of the planks through the vinyl, so we installed and sealed a subfloor first.
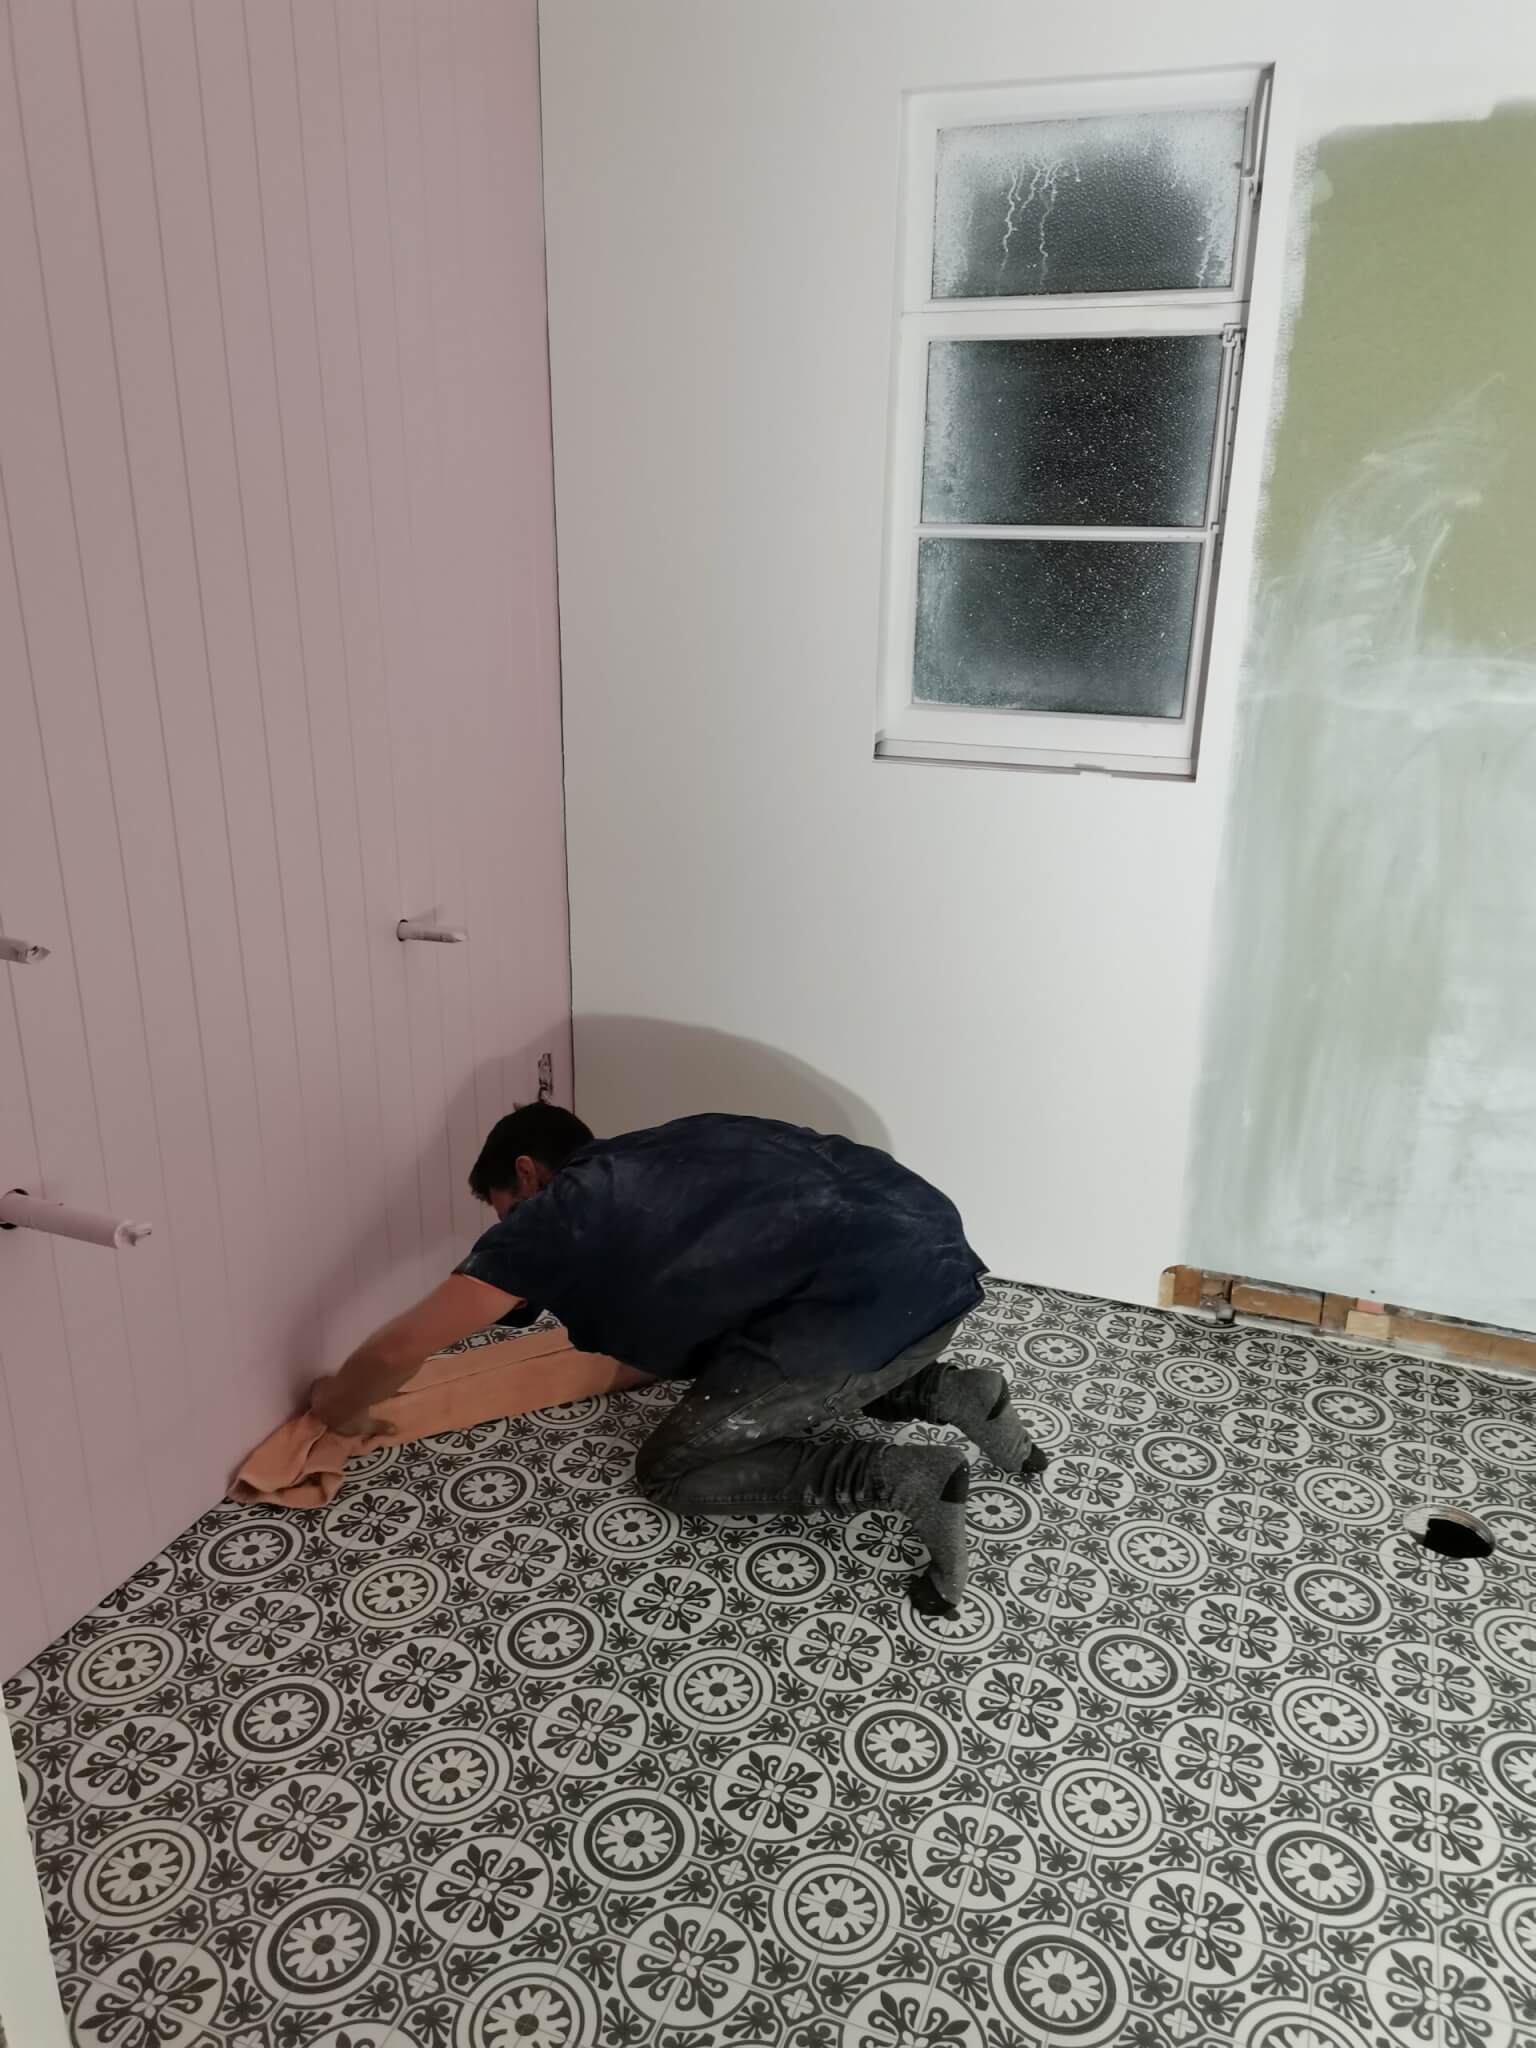
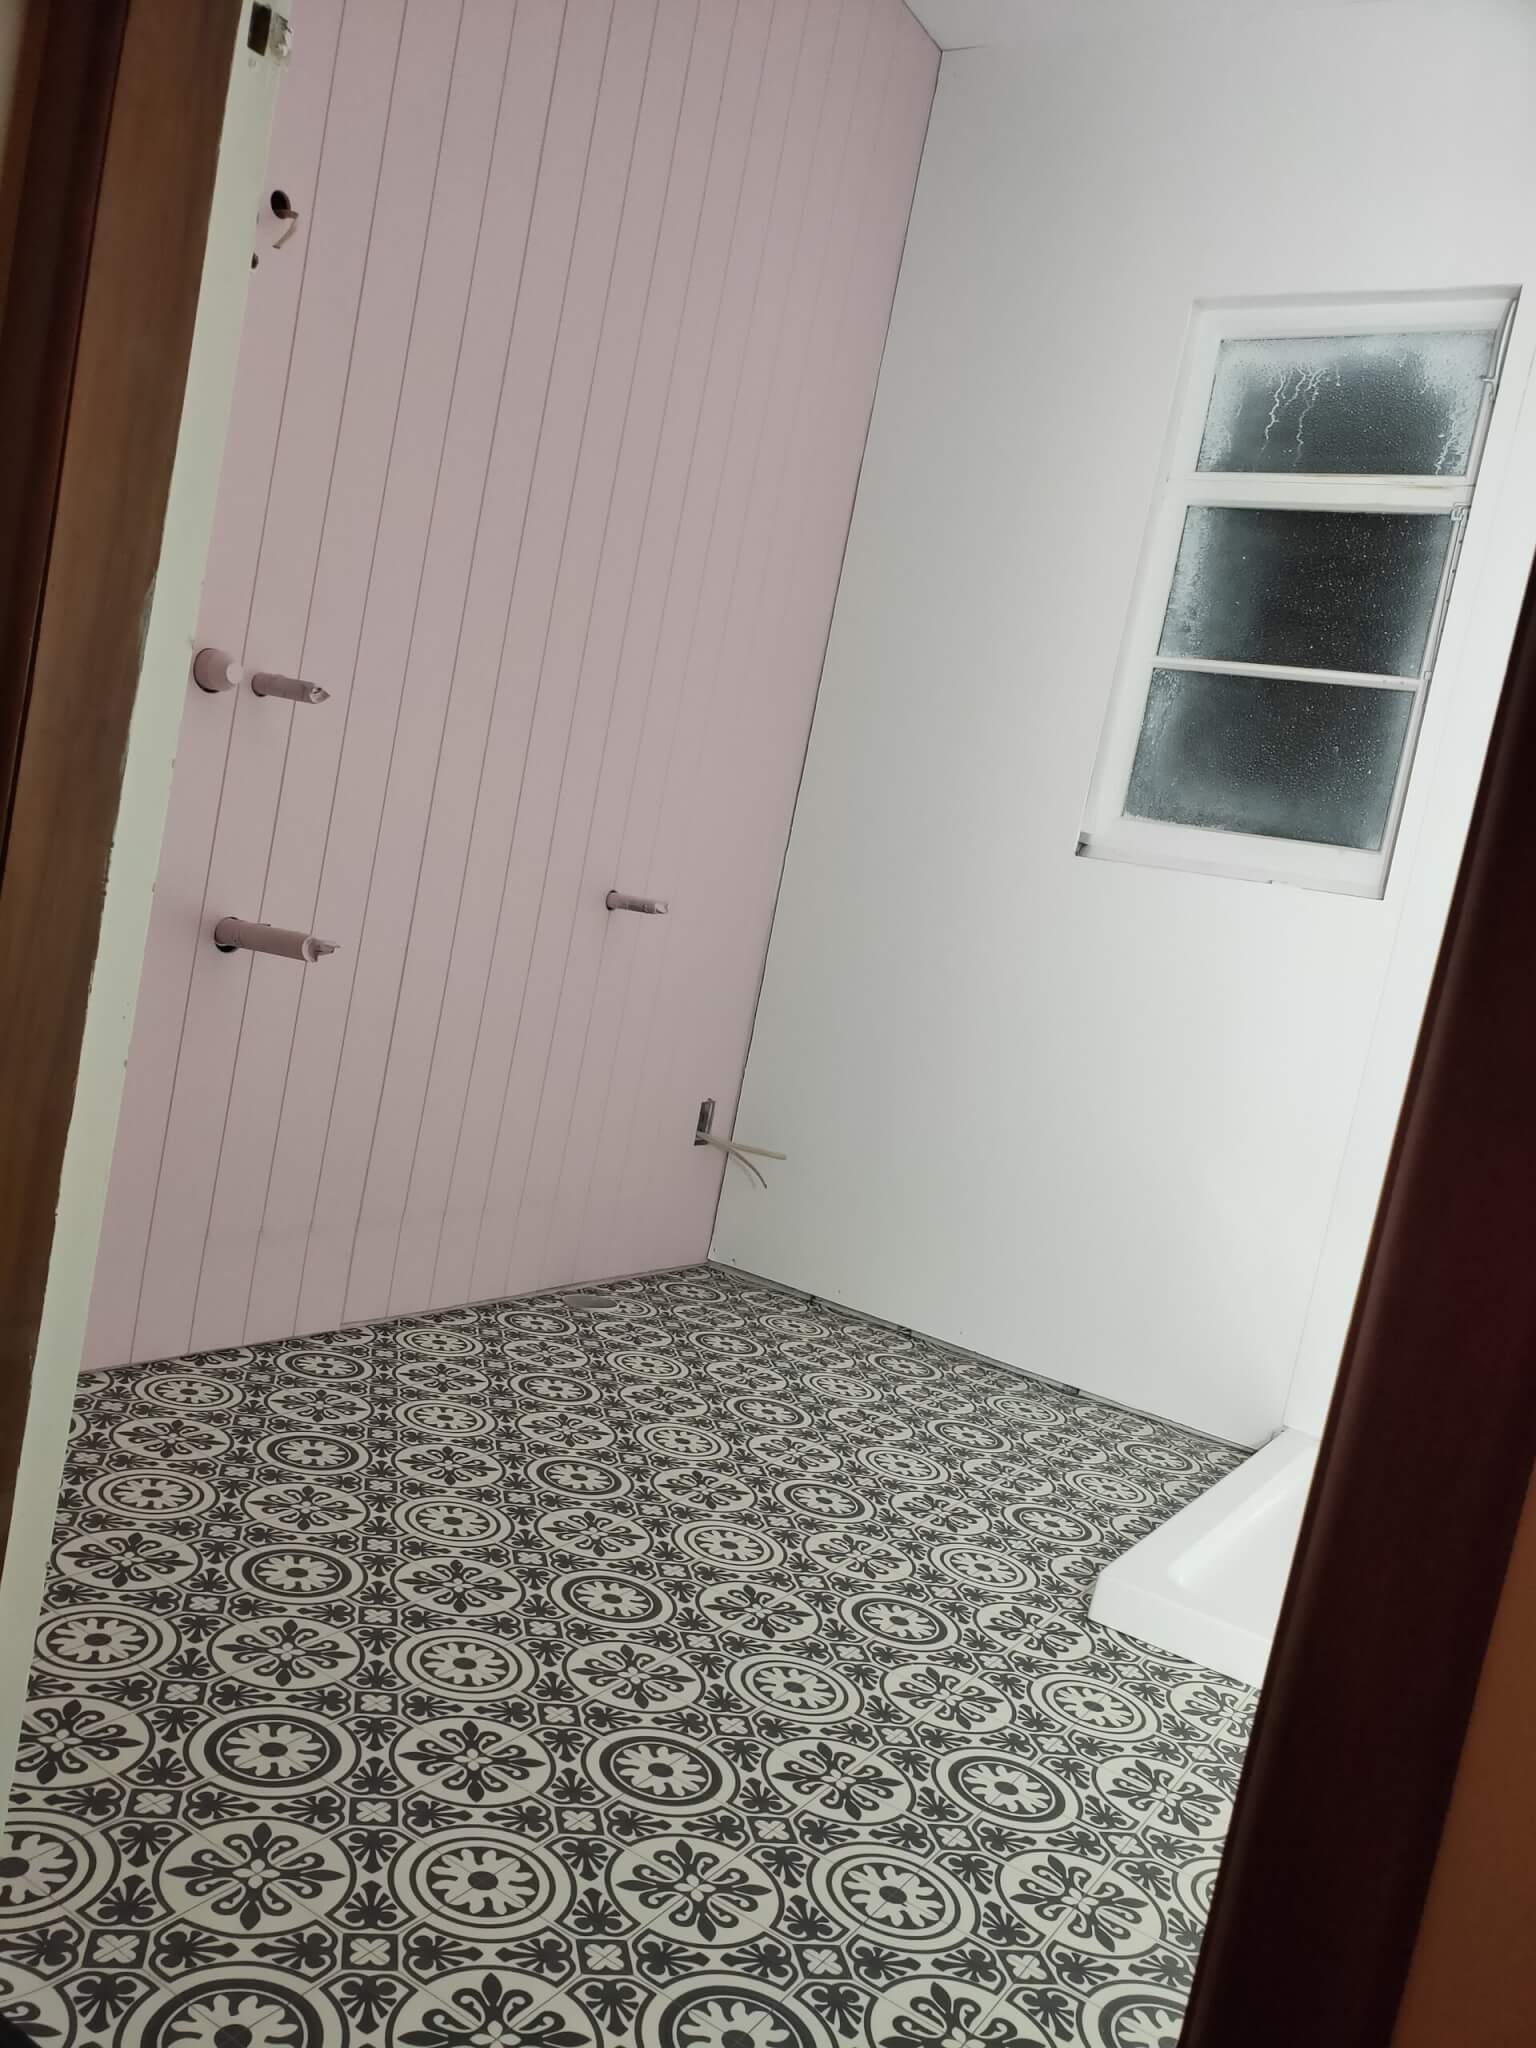
After the plumbers and electrician had done their part, we added in insulation (there wasn’t any originally in the walls) and installed the plasterboard and mudded the joints. We also decided on a crown moulding to go around the ceiling and also put some trim in the corners that needed to be caulked prior to painting. One of the walls we decided to make a feature out of and used cement board with a grooved pattern. After painting the walls and ceiling, we installed the vinyl flooring.
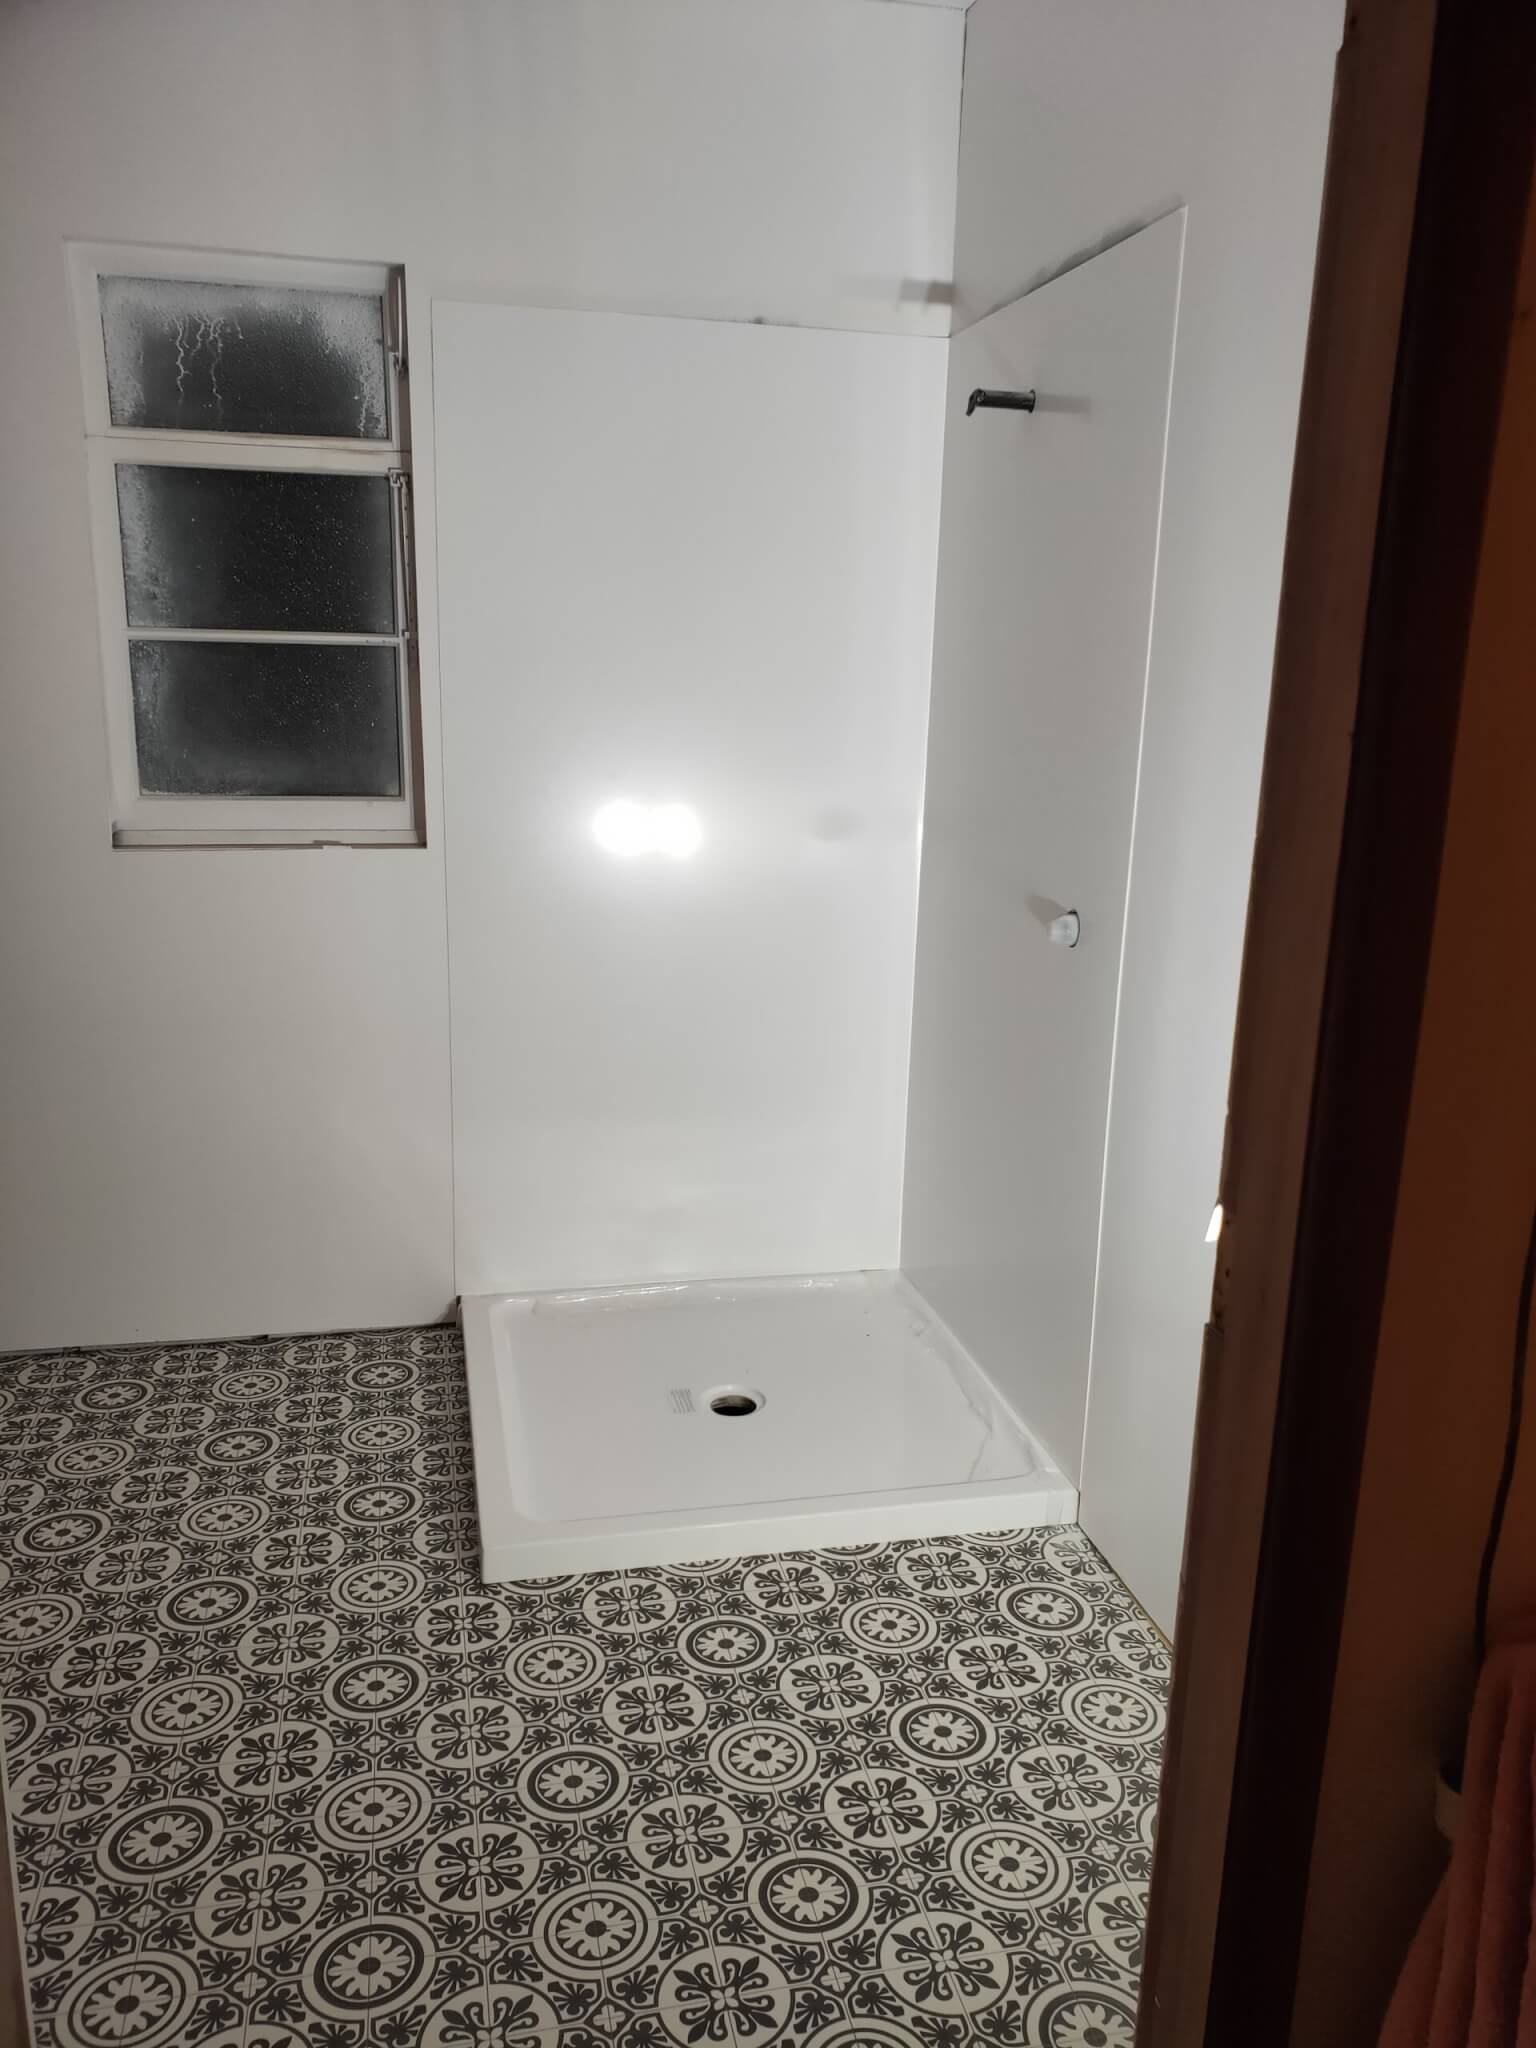
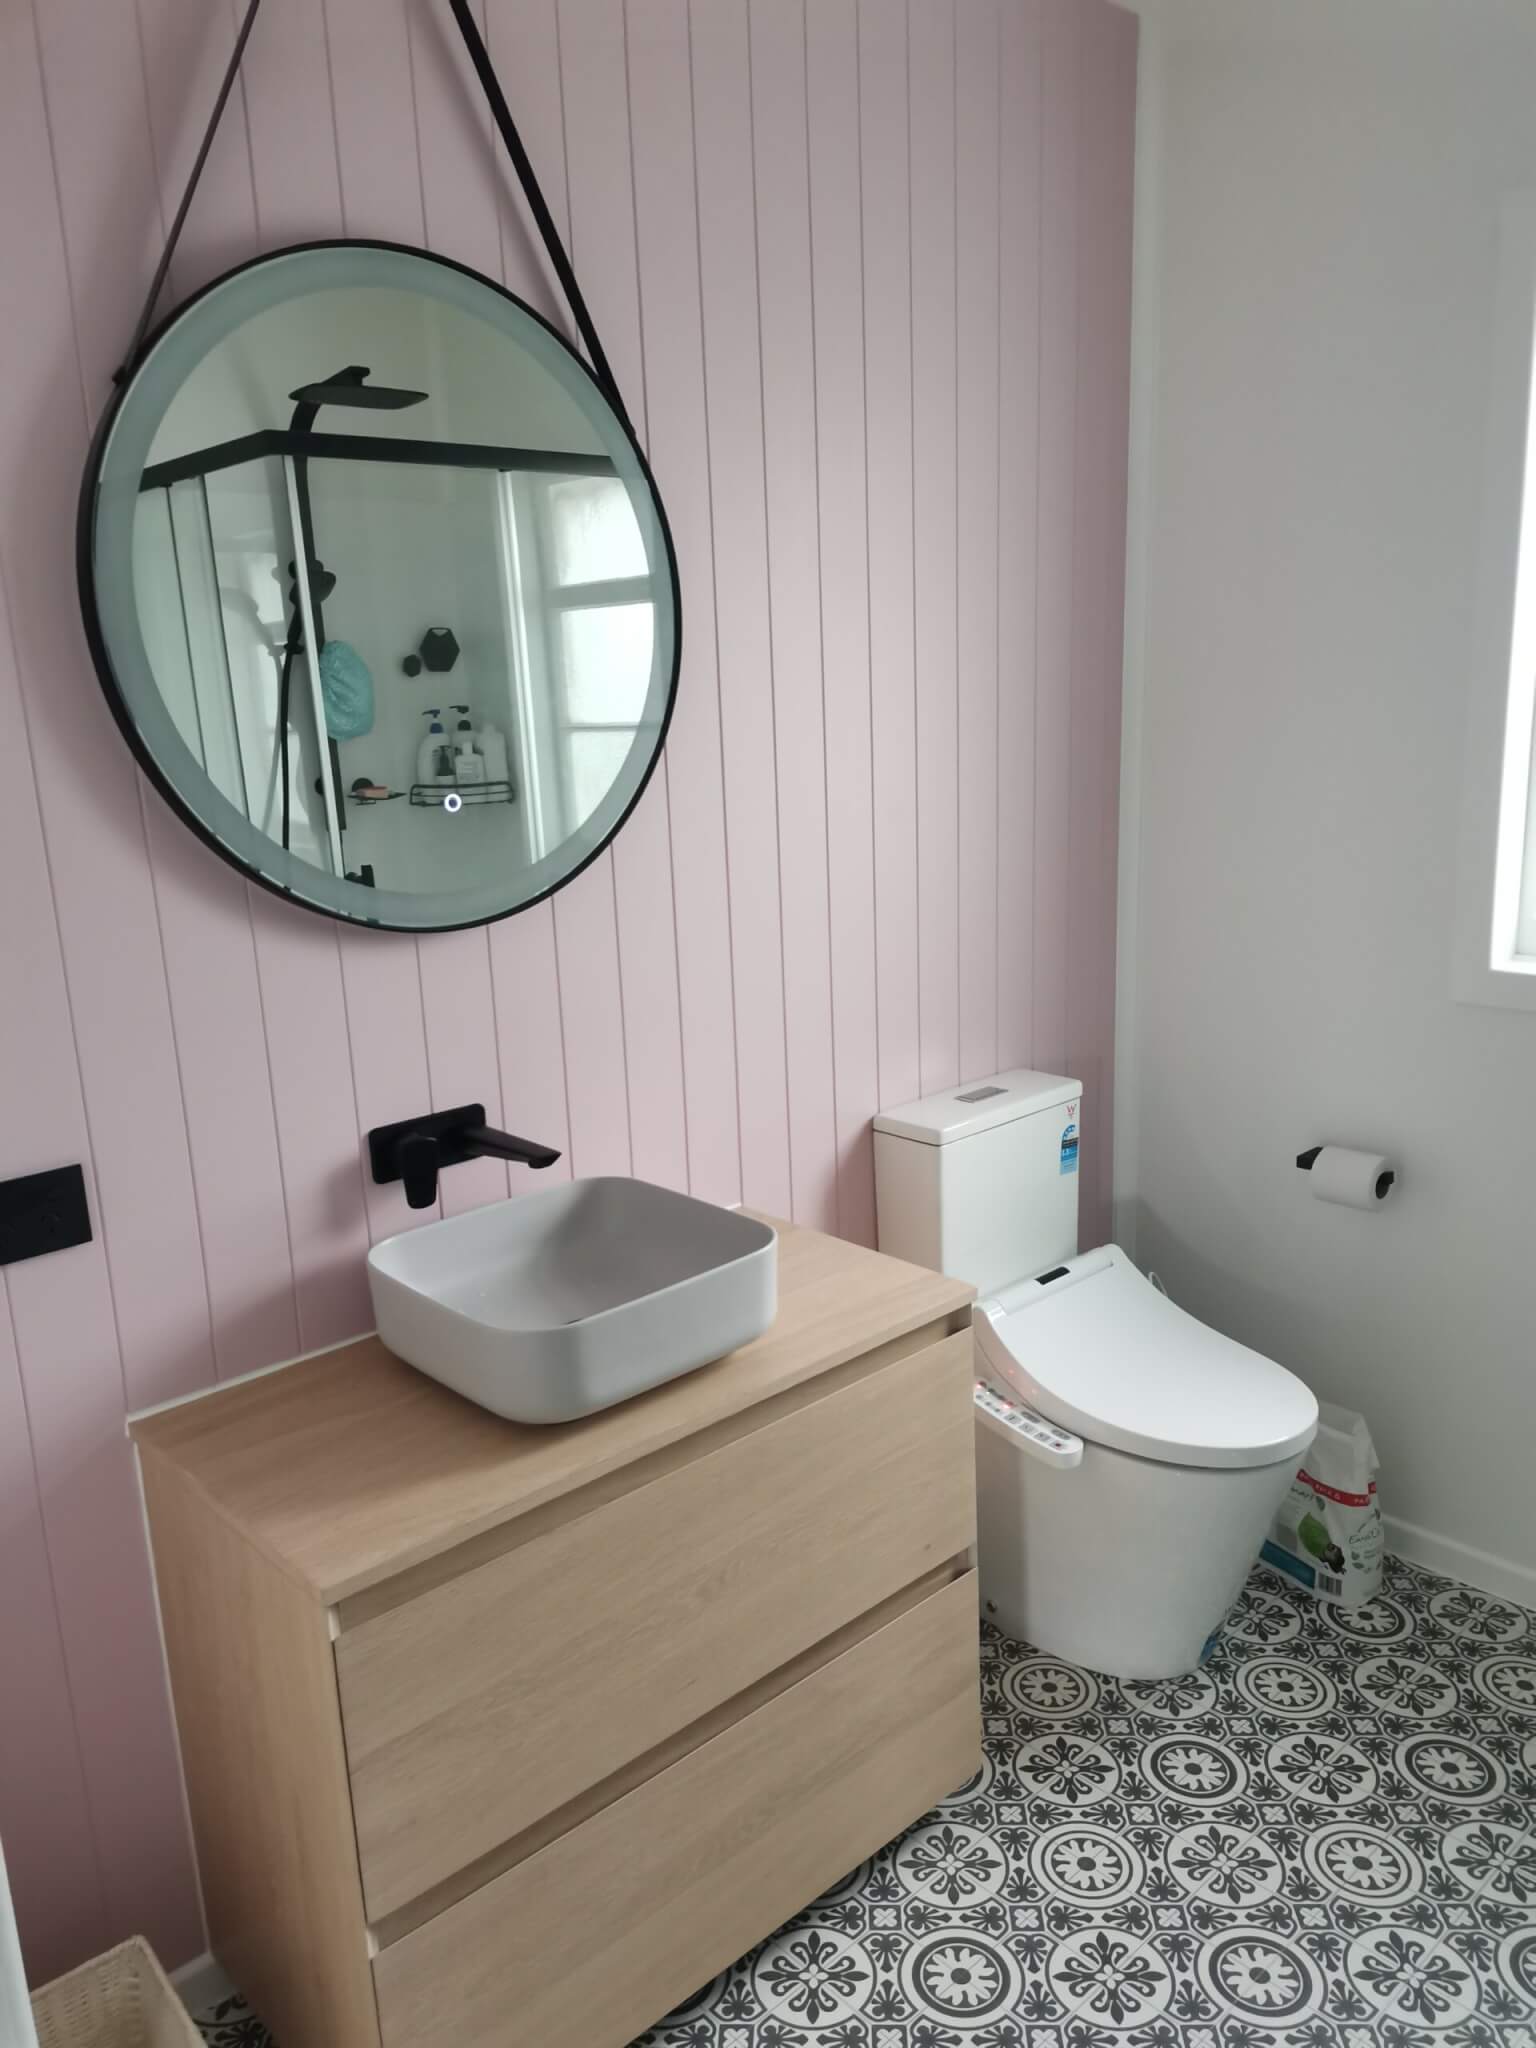
Next we installed the shower tray and liner followed by the vanity, now all that was left to do was get the plumbers back in to attach the wall mounted tap, sink, shower, and toilet. We also got the electrician back to install the heated towel rail and wall mounted LED mirror.
After delivery of the new double-glazed window, we installed and attached some new trim around it to match the rest of the room.
Finally, to give the room a bit more character and functionality, we added in a few shelves.
The final outcome was amazing, the bathroom before felt really cramped, damp and unusable, and now it feels really spacious, fresh, and modern. We couldn’t have been happier with the outcome and are proud to put our name to it.
Check out the pictures below:
